How to Fly DJI Mavic Pro: A Complete Beginner-to-Pro Guide
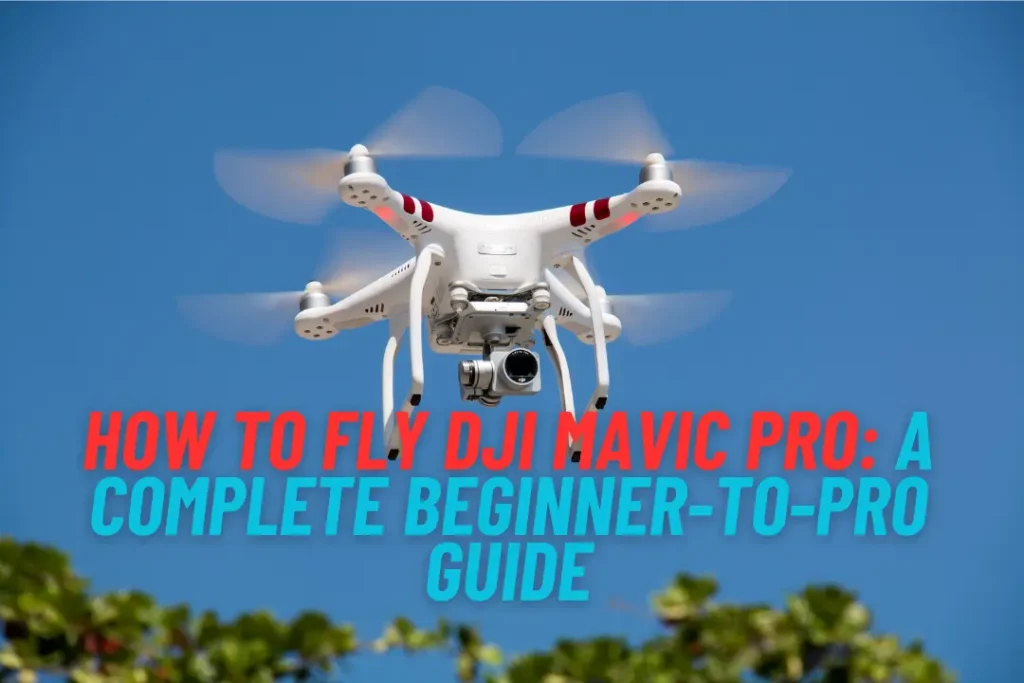
The DJI Mavic Pro is one of the most popular consumer drones ever made. Known for its compact design, foldable arms, 4K camera, and intelligent flight modes, it became a game-changer for both hobbyists and professionals. Whether you’ve just unboxed your Mavic Pro or you want to polish your flying skills, learning how to operate it safely and effectively is essential.
Flying a drone isn’t just about pushing joysticks—it requires a mix of technical setup, safety awareness, and practice. In this guide, we’ll cover everything you need to know: from initial setup and pre-flight checks to basic flying controls, advanced manoeuvres, safety regulations, and pro tips that will make you confident in the air.
Step 1: Getting Started – Setting Up Your DJI Mavic Pro
Before you can take off, ensure your drone is ready for flight. Proper setup will prevent issues mid-air and help you get the best footage possible.
Unboxing & Charging
- Charge the Mavic Pro’s intelligent flight battery fully before your first flight.
- Charge the DJI controller and your smartphone/tablet that will run the DJI GO 4 app.
- Make sure to install the propellers securely on the drone’s motors.
Software Setup
- Download the DJI GO 4 app (available on iOS and Android).
- Connect your phone to the controller via USB cable.
- Power on the controller, then the drone.
- Follow on-screen prompts for firmware updates if required.
Calibration & Pre-Flight
- Calibrate the compass in a safe, open area (away from metal objects).
- Perform an IMU calibration if the app prompts you to do so.
- Check the GPS signal strength—you’ll want at least 10 satellites for a safe flight.
Step 2: Understanding the DJI Mavic Pro Remote Controller
The Mavic Pro’s controller is designed to give you precision and ease of use. Let’s break it down.
Controller Basics
- Left Stick (Mode 2 default):
- Up/Down → Ascend/Descend
- Left/Right → Rotate (yaw)
- Right Stick:
- Up/Down → Move forward/backwards
- Left/Right → Strafe left/right
- Gimbal Wheel (left side): Controls camera tilt.
- Record/Photo Buttons: Quick access to shooting functions.
Step 3: First Flight – Taking Off and Hovering
Your first flight should be in an open field with no trees, power lines, or crowds.
Step-by-Step First Flight
- Place the drone on a flat, clear surface.
- Power on the controller, then the drone.
- Open the DJI GO 4 app and wait for the “Ready to Fly (GPS)” status.
- Unlock the motors by pulling both sticks down and inward.
- Gently push the left stick up—the drone will lift off.
- Let the drone hover at about 10 feet for 30 seconds to ensure stability.
Pro Tip: Always practice hovering before trying advanced manoeuvres. Stability is key to safe flying.
Step 4: Learning the Basic Flight Manoeuvres
Once you’re comfortable hovering, move into controlled movements.
- Forward and Backwards: Push the right stick up and down.
- Side-to-Side (Strafing): Push the right stick left or right.
- Rotating (Yaw): Use the left stick left or right.
- Altitude Control: Gently move the left stick up or down.
Practice slow, smooth movements. Quick, jerky inputs can cause instability.
Step 5: Exploring DJI Intelligent Flight Modes
One of the biggest advantages of the Mavic Pro is its smart flying modes, which allow cinematic shots with minimal manual control.
- ActiveTrack: Locks onto a subject and follows it. Great for vlogging or sports.
- TapFly: Tap on the screen, and the drone flies there automatically.
- Tripod Mode: Slows down movements for precision shots.
- Cinematic Mode: Smoothens turns for film-like video.
- Return-to-Home (RTH): Automatically flies back to the takeoff point.
Pro Tip: Always test smart modes at a safe altitude before using them in tight environments.
Step 6: Safety Guidelines and Legal Rules
Flying a drone in the USA means following FAA (Federal Aviation Administration) rules.
FAA Drone Regulations (as of 2025)
- Register your Mavic Pro with the FAA if it weighs more than 0.55 lbs (the Mavic Pro does).
- Fly under 400 feet to avoid interfering with aircraft.
- Keep a line of sight on your drone at all times.
- Do not fly near airports, stadiums, or restricted areas.
- Night flying requires proper anti-collision lights.
- For commercial use, you’ll need a Part 107 drone license.
Pro Tip: Use apps like B4UFLY or AirMap to check for airspace restrictions before flying.
Step 7: Tips for Smooth Flying and Great Footage
Flying is one part, but creating cinematic footage requires some practice and technique.
Tips for Smooth Control
- Move both sticks slowly for cinematic shots.
- Avoid sudden altitude changes.
- Use Tripod Mode for stable, precise filming.
- Plan your shots—flying with purpose reduces mistakes.
Tips for Better Video Quality
- Shoot in 4K resolution for maximum detail.
- Use ND filters for smooth motion in bright sunlight.
- Adjust the gimbal tilt gradually for professional-looking pans.
- Experiment with manual camera settings instead of Auto.
Step 8: Common Problems and Troubleshooting
Even the best drones can face issues. Here are some common Mavic Pro problems and solutions:
- Weak GPS Signal: Move to an open area; avoid flying near tall buildings.
- Compass Errors: Calibrate again away from metal or electronics.
- Battery Drain Too Fast: Cold weather reduces battery life—keep batteries warm before use.
- Video Lag on Phone: Use a high-quality USB cable and close background apps.
Step 9: Maintenance and Storage
Taking care of your Mavic Pro ensures longer life and fewer mid-flight issues.
- Always remove the battery before long-term storage.
- Store batteries at 40-60% charge if not using for weeks.
- Keep propellers clean and replace them if damaged.
- Wipe the gimbal and camera lens with a microfiber cloth.
FAQs About Flying the DJI Mavic Pro
1. Can you fly the DJI Mavic Pro indoors?
Yes, you can fly the Mavic Pro indoors, but it’s not recommended for beginners. Since GPS signals may be weak indoors, the drone relies on its vision positioning system (VPS) for stability. Always ensure the room is spacious, free of obstacles, and keep the drone in Tripod Mode for safer control.
2. How far can the DJI Mavic Pro fly?
The DJI Mavic Pro has a maximum transmission range of up to 4.3 miles (7 km) when using the DJI OcuSync technology. However, FAA rules require you to always fly within visual line of sight, so you should never push it to the maximum range.
3. What is the maximum flight time of the DJI Mavic Pro?
The drone offers up to 27 minutes of flight time per battery under ideal conditions. Real-world times are usually around 22–24 minutes, depending on wind conditions, flying style, and camera usage.
4. Do I need to register my DJI Mavic Pro with the FAA?
Yes. Since the Mavic Pro weighs about 1.62 pounds (734 grams), FAA registration is required for both recreational and commercial pilots in the USA. The registration is quick and inexpensive, and it ensures compliance with U.S. drone laws.
5. Can I fly my Mavic Pro at night?
Yes, but only if your drone has anti-collision lights visible from three miles away. This is required by FAA rules for safe nighttime operations. Many pilots attach LED strobe lights to meet this requirement.
6. Is the DJI Mavic Pro still worth buying in 2025?
Although newer models like the Mavic 3 series and DJI Mini 4 Pro have been released, the Mavic Pro remains a reliable and affordable option for beginners. It still delivers 4K video, long battery life, and smart flight modes—making it an excellent entry-level professional drone
7. How do I update the firmware on my Mavic Pro?
You can update the firmware through the DJI GO 4 app or using the DJI Assistant 2 software on a computer. Keeping firmware updated ensures your drone has the latest safety features, bug fixes, and optimised performance.
8. Can the DJI Mavic Pro be used for professional filmmaking?
Absolutely. While newer drones may offer better cameras and sensors, the Mavic Pro can still capture cinematic 4K footage. With careful flying, the right ND filters, and post-production editing, it remains a popular choice for vloggers, YouTubers, and indie filmmakers.
9. What’s the best beginner tip for flying the DJI Mavic Pro?
Start in open spaces, practice hovering, and move the sticks gently. Use Tripod Mode to reduce speed and make the drone easier to control. The slower you learn, the faster you’ll master flying.
10. What happens if I lose signal with my Mavic Pro?
If your Mavic Pro loses connection with the controller, it will automatically activate Return-to-Home (RTH) as long as you set it up correctly in the DJI GO 4 app. Always double-check your RTH altitude to avoid obstacles like trees and buildings during the return.
Conclusion: Mastering Your DJI Mavic Pro
Learning how to fly the DJI Mavic Pro takes patience, practice, and attention to detail. By mastering the basics, practising advanced modes, and following FAA safety regulations, you’ll not only protect your drone but also unlock its full creative potential.
Whether you’re capturing landscapes, vlogging your adventures, or practising aerial photography, the Mavic Pro remains a reliable, feature-packed drone—even in 2025. Take your time, fly safely, and remember: every great drone pilot started with a first flight.

Drone Parts List And Price
Why Would A Drone Be Following Me?